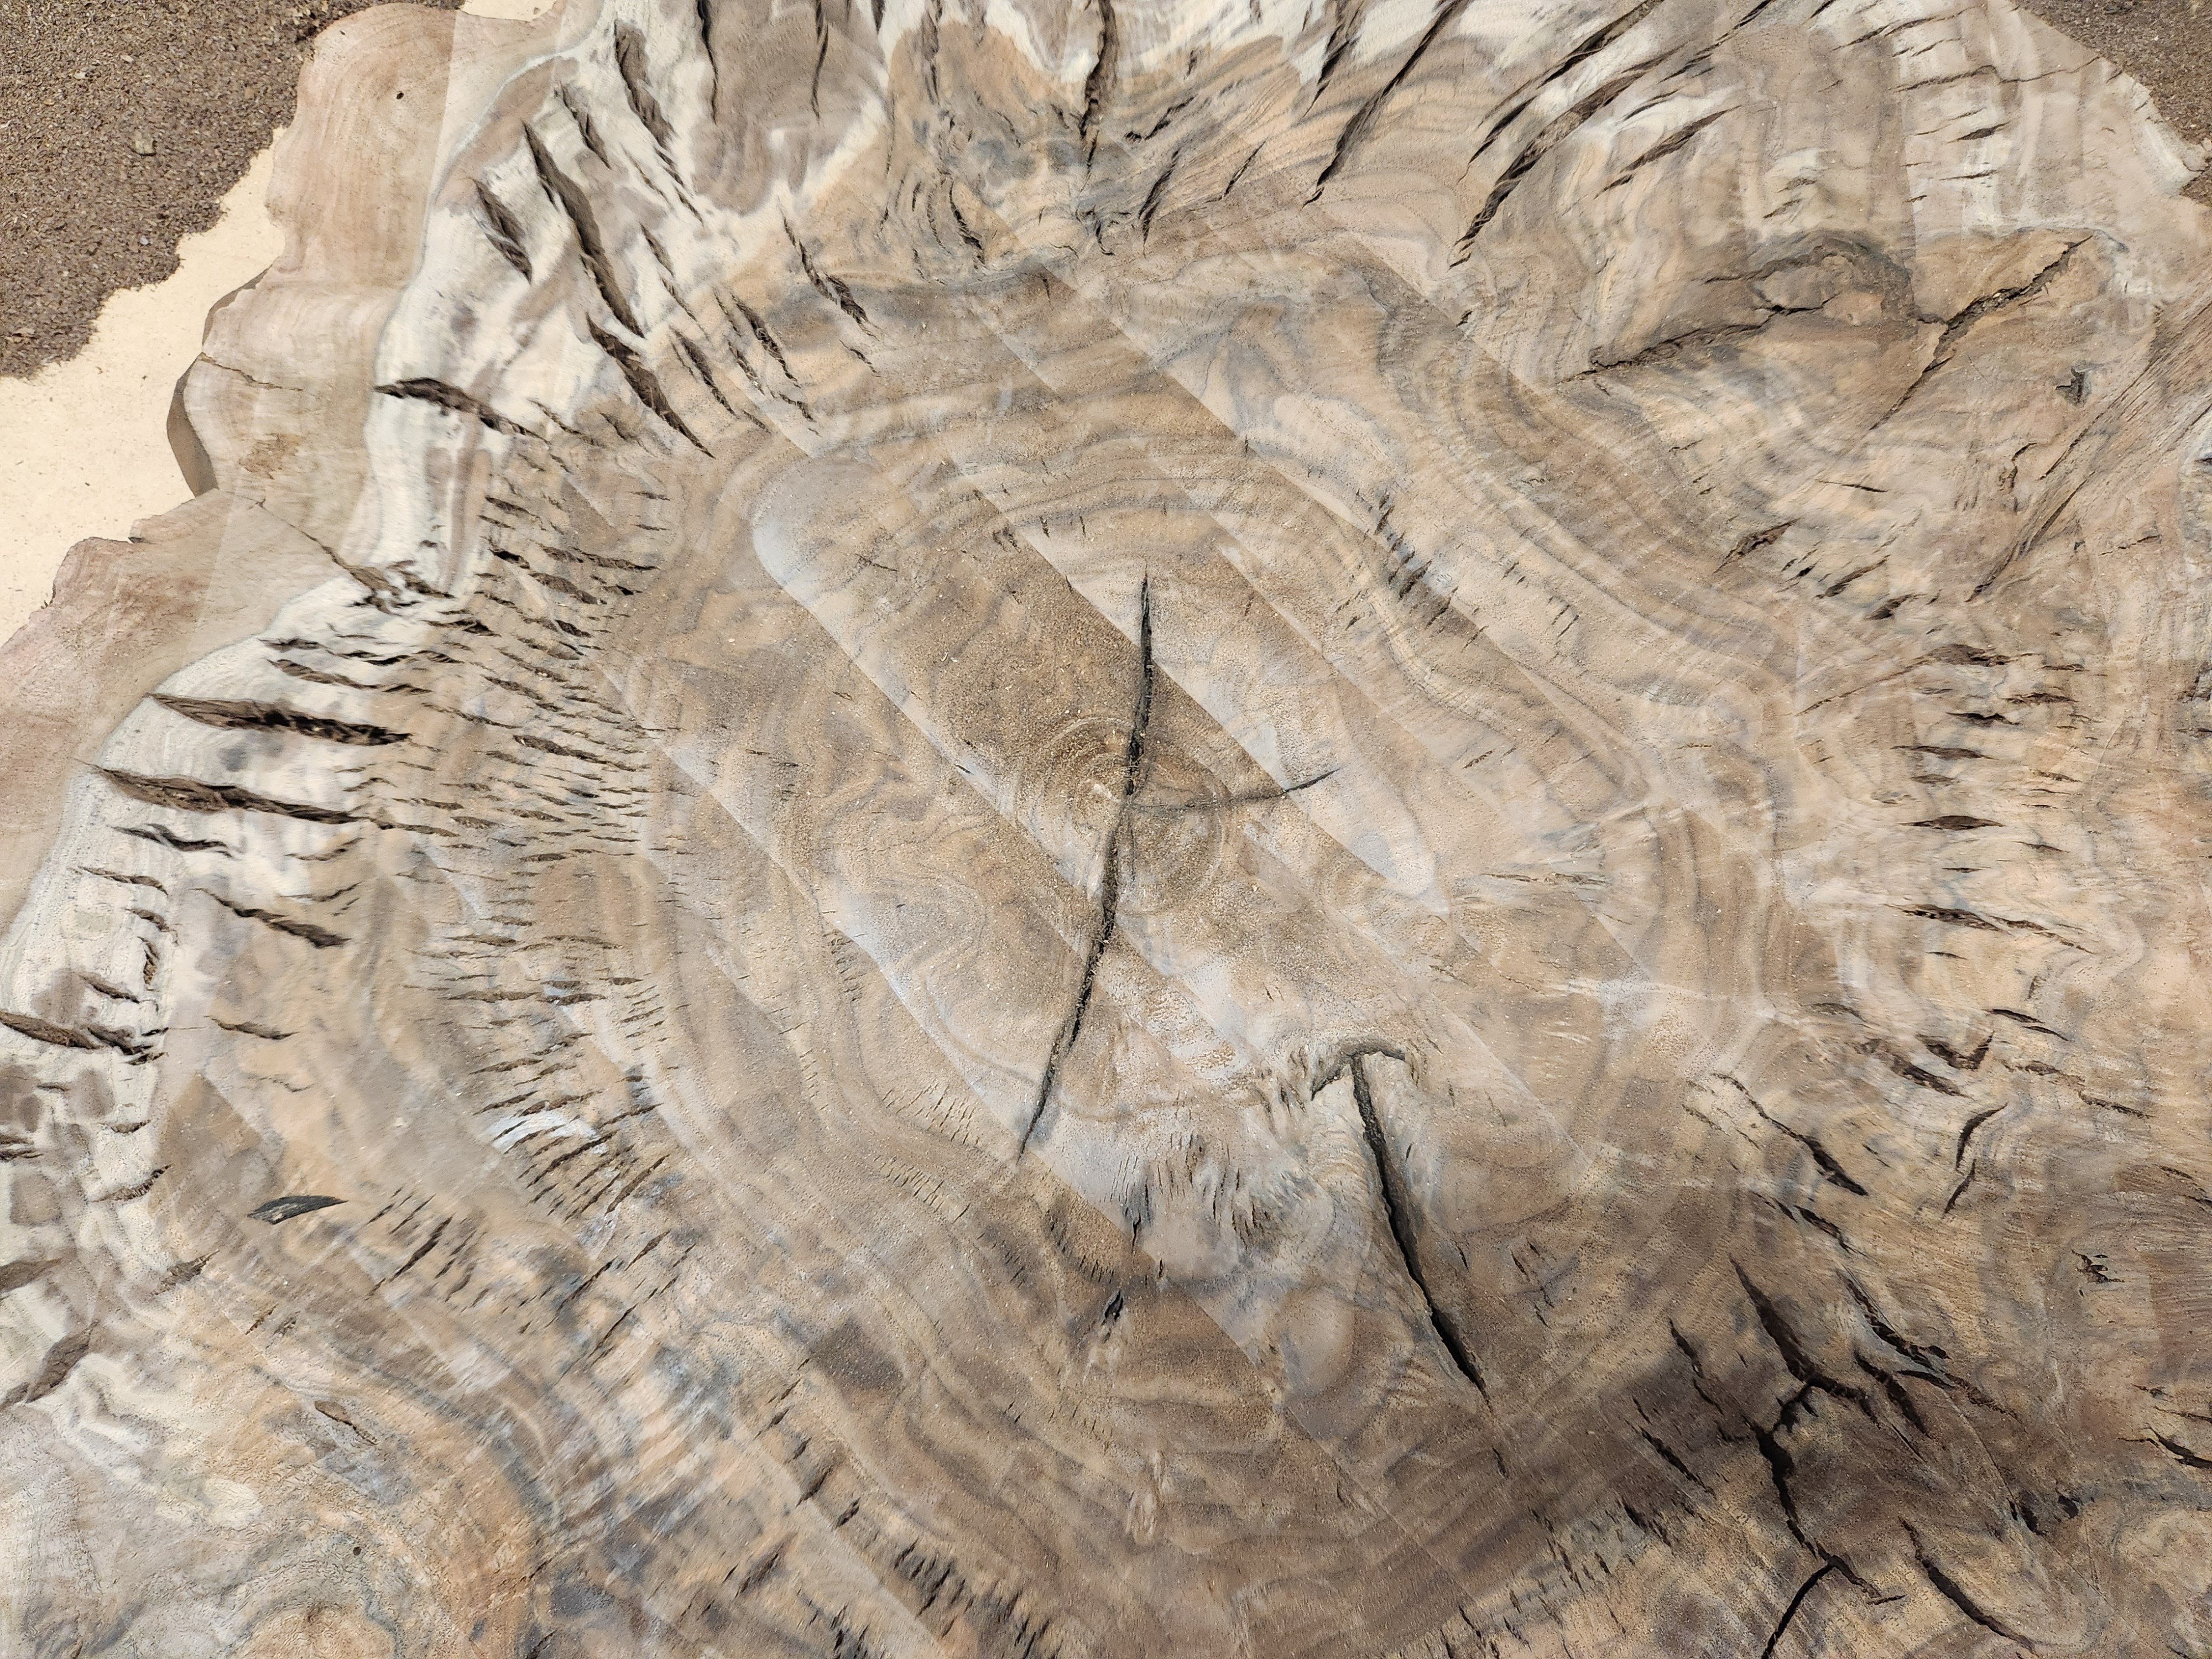
There is a lot more checking than I realized, and I’m afraid filling these gaps by just pouring in epoxy will be difficult. I want to keep the live edge and avoid making a complete deep pour epoxy mold. Some of these gaps go all the way through The 2-in slab. Any tips for me?
Clean out the voids, brush epoxy on with the cookie in a melamine or tuck taped form to catch leaks, repeat as needed, flip and remove material as needed.
Alternatively you could clean out the voids and go ham with glue and sawdust in a contrasting wood to avoid the dying epoxy fad.
Thanks, I will look into using tuck tape to seal the bottom of the slab. I’ve never been one to follow fads, and I prefer the simple look of black epoxy over some mismatched sawdust filler.
The tuck tape is to aid with releasing the slab from whatever you put it on. You might be able to seal the backside with tape, but I don’t know if tuck tape will offer any advantages over duct tape given the tenacity of resin to escape containment and the fairly poor adhesion tuck tape has.
You could try 100% silicone on the edge of the cookie, that would be easy to clean up after. Just make sure you do it on/in something to contain the resin if the seal fails.
Got it, thank you for the clarification. I’ve got some green frog tape that should do the job. I planned on putting down a plastic painters tarp to catch any spill out.
Id guess the alternative is to pour them one at a time? If you don’t want to flood it but you want the checks filled, that’s really the only other option, isn’t it?
I know nothing about any of this, but could one put the epoxy on a large flat surface and then put the wood on top face down?
Probably wouldn’t work /shrug
I bet it would squeeze out around the edges. Since there’s air in the voids/checks, the resin won’t have a way in. You’d be left with a thin layer covering the voids but not filling them, so as soon as you sand it flat the voids reopen
The downside to that is the epoxy would only be surface level. You’d want to fill any cracks/checks entirely, and pouring it into the hole or flooding the whole slab would be the best way to ensure that
So I guess I should tape off the bottom or somehow try to caulk around it to stop the epoxy from spilling out everywhere underneath? I am a complete amateur as far as epoxy work goes.
Yes. I epoxy filled some voids in a wood top for a desk I made a few years back. I used frog tape (fancy masking tape) on the bottom and it worked fairly well. Some epoxy still escaped and some of the tape was a bit difficult to get off. Be sure you do this over something like waxed paper for easier cleanup.
Like you, I tinted my epoxy black.
I used disposable cups for measuring, measured by weight on a digital scale (don’t forget to weigh an empty cup), and mixed with a popsicle stick. Pour on the top around the cracks. Don’t go too nuts on the first pour and let it fully cure. It will work its way into the cracks if you’re using a crack filler - that stuff is very thin. Why not go big on the first pour? It will minimize the mount of leakage you get on the backside.
I sanded the top down afterwards and finished as per usual. The fill is very low key, which is what I wanted.
Pic of the desk being used. Look for the black between the boards.

I didn’t watch this the whole way through, but it might help you: https://youtu.be/E_d9hK20C94?si=TOh87hZYK79tpUAl

MURIAL!!!