

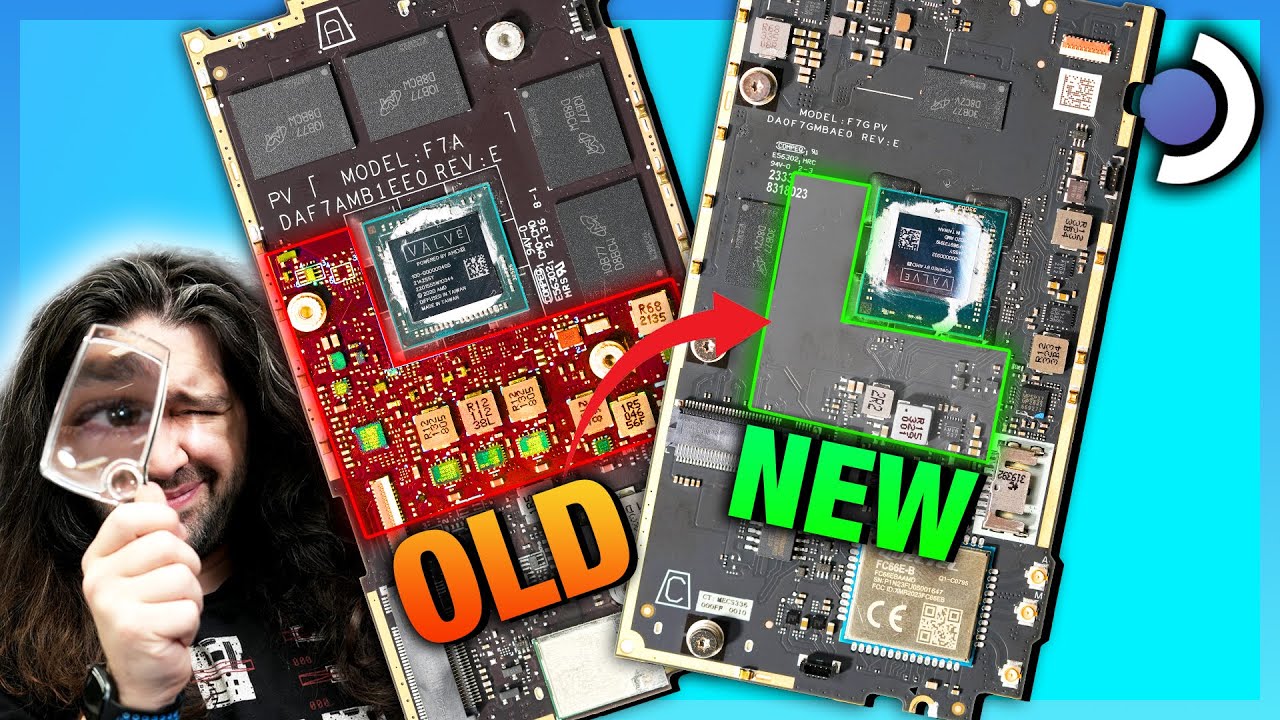
The new Valve Steam Deck OLED didn’t just change the screen: Almost every part of the device has had some sort of revision, from the screws to the power topology of the motherboard. Some of these changes happened silently in the Voyager platform refresh for the Steam Deck, but the majority of large changes are brand new. Memory underwent relocation and now uses better modules, the cooling solution has had its fan flipped and thickened, and the controller component PCBs have had some consolidation and durability improvements. In this tear-down of the new Steam Deck OLED, we’ll compare the new Steam Deck vs. the original, old Steam Deck “LCD” model.
I’ve been repairing crap like this for decades. I haven’t done the steam deck battery yet but already know an easy enough way to get it done.
Use a plastic playing card, and you may want to cut one in half so it isn’t as wide. Get a shallow bowl of 90 or higher iso alcohol to dip a bit of plastic playing card into.
Dip card, hold deck upside down so no access alcohol goes down into the lcd screen (avoids slight chance of issues) and start wedging the card under the battery to eat and peel away the adhesive. Just keep dipping and pushing the card under.